


Home › Knowledge base › 7 steps › The 7 steps to durable wood repair
What do you need to perform a durable wood repair? What about materials and tools? With 7 steps to durable wood repair, we provide you with what you need to know so that you can serve your customers even better!
Common courses of action:
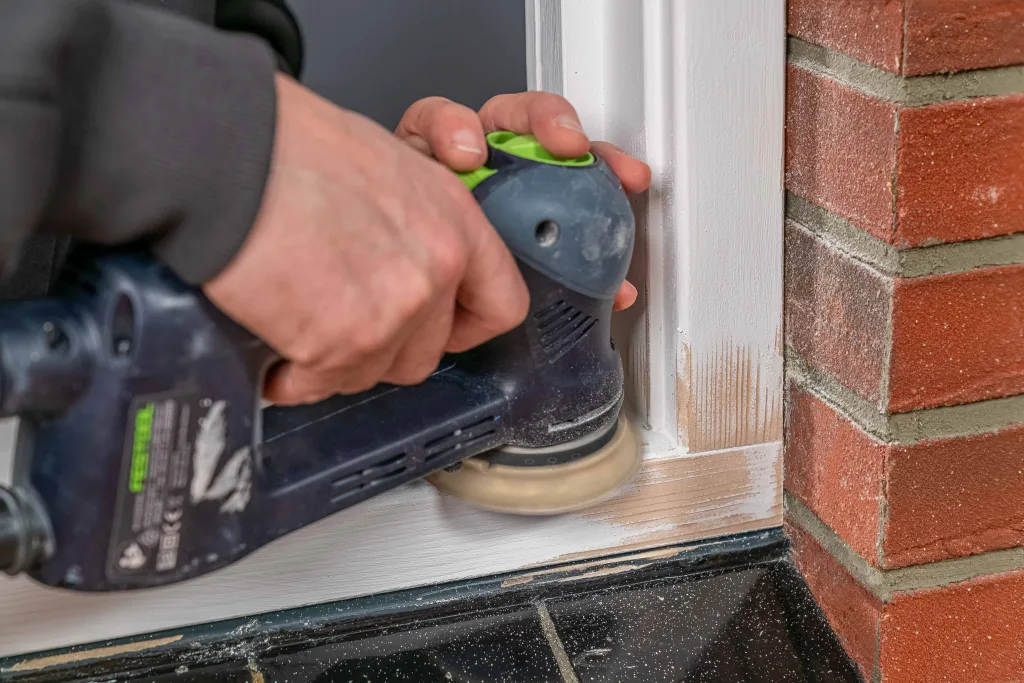
Sanding, scraping, burning, blowing off with air.
Materials and tools: Sander/scraper/burner/blow dryer or compressor, dust mask, and dustpan.
Goal: Remove all affected wood to at least “3/16”into the healthy wood. Always provide milling tray.
Common courses of action: Milling (flexible shaft, fixed router, battery-powered machine), sawing (oscillating saw) or chiselling.
Materials and tools: Multitool with 3/8” spherical router or cutting bit, safety glasses, and sandpaper
Goal: Ensures that wood rot won’t still be present in the repair.
Materials and tools: EASY•Q™ Wood Condition Meter.
After sparingly applying DRY FIX®, allow it to penetrate for a minimum of 20 minutes and a maximum of 45 minutes. Then dab with a lint-free cloth to remove excess DRY FIX®.
Materials and tools: DRY FIX® UNI, EASY•Q™ MIX and FIX Cups, EASY•Q™ MIX and FIX Wooden Mixing Spatula and disposable brushes.
Butter the repair with a thin layer of DRY FLEX®
Materials and tools: EASY•Q™ Buttering Knife, DRY FLEX® 1, 4, 16, SF, ALLROUND, EASY•Q™ Mixing Plate and EASY•Q™ Dosing Gun (High Performance or single-ended)
Make sure you build up the repair without air inclusion.
Chamfer the repair bulb.
Pay attention to:
Be sure repair is cured for paint or stain
Treat repair with primer first, within 2 weeks of it being fully dry
Materials and tools: Sander.
In the table below you will find the approximate curing times (in hours) of Repair Care repair pastes. Please note: the times mentioned are only an indication. Curing may deviate due to fluctuations in temperature, layer thickness and humidity.
DRY FLEX® products cure as a result of the chemical reaction between the A and B components. The factors affecting this curing process are mass and temperature.
Would you like to know more about our product range or do you need further assistance in choosing the right products for your project? Please contact us. We are happy to help.